Connect Zapier to Citypicked
Zapier connects thousands of apps, for example your calendar, your checkout system or your shop. After an appointment or a sale, Zapier sends your customer's name and mobile number (or email) to your automation link, and Citypicked sends the request.
- Step 1:
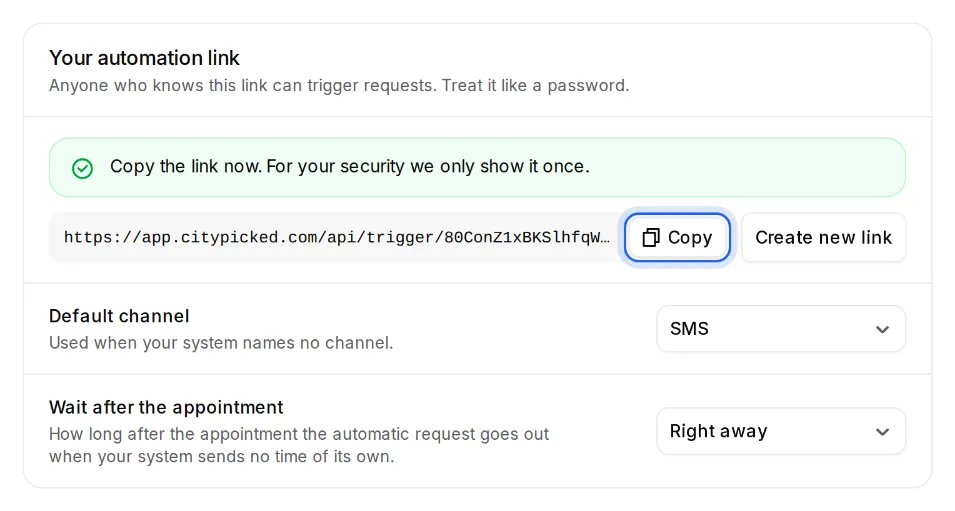
In Citypicked, open Settings, Sending, “Automatic after every appointment” and click “Set up”. Create your automation link there and copy it right away: Citypicked shows it only once.
- Step 2:
Create a new Zap in Zapier. As the trigger, pick the app your customer data comes from and the matching event, for example a finished appointment or a paid invoice.
- Step 3:
Add the action “Webhooks by Zapier” with the event “POST”. Paste your automation link into “URL” and set “Payload Type” to “json”.
- Step 4:
Under “Data”, add one row per field: on the left the field name as in the example below (name, phone or email, delay_minutes if you like), on the right the matching value from your trigger.
- Step 5:
Click “Test step”. The test sends a real request, so best use your own number. Then switch the Zap on.
- Step 6:
Under “Recently received” Citypicked shows everything your system sent, with its result, so you see right away whether everything arrives.