Connect n8n to Citypicked
n8n is a workflow tool you can also run yourself. The “HTTP Request” node sends your customer's name and mobile number (or email) to your automation link, and Citypicked sends the request.
- Step 1:
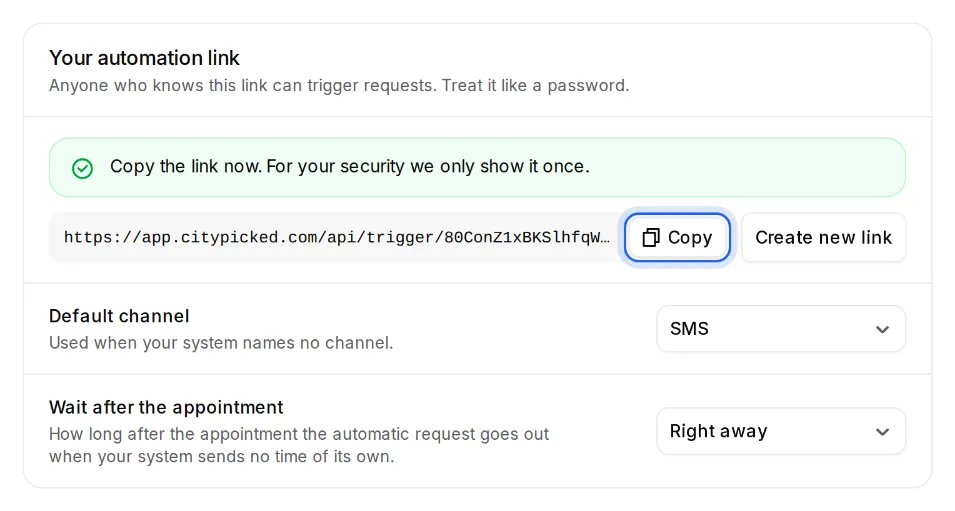
In Citypicked, open Settings, Sending, “Automatic after every appointment” and click “Set up”. Create your automation link there and copy it right away: Citypicked shows it only once.
- Step 2:
Start your workflow with the node your customer data comes from, for example your calendar or your shop.
- Step 3:
Add the “HTTP Request” node. Set “Method” to “POST” and paste your automation link into “URL”.
- Step 4:
Switch on “Send Body”, set “Body Content Type” to “JSON” and “Specify Body” to “Using JSON”, and paste the example below. Replace the sample values with the fields from the previous node: simply drag them into the text.
- Step 5:
Run the node once. The test sends a real request, so best use your own number. Then activate the workflow.
- Step 6:
Under “Recently received” Citypicked shows everything your system sent, with its result, so you see right away whether everything arrives.